It took many nights of staying up until three or four in the morning, but the “MIDI Arduino LED Piano” has finally come to an end–at least for now. Overall, the project was a success! And to recap, it took these five major things to build on:
1) Arduino
This was the brain behind the project. I used the Mega 2560 version. With its 16 analog inputs, I used 13 for my piezo sensors (piano keys–8 white and 5 black). With its 54 digital inputs, I used 29 for a variety of things: LEDs, instrument-tone-changing buttons, a “key” cycling button, demo song buttons, and chord buttons (wires galore!). The week (actually 5 days) before presentation day, my Arduino unexpectedly went ‘bye bye’ and of course, I panicked a little, but good thing I bought two spare ones! I still have to check what happened to that particular Arduino, but I’ll leave it alone for now since finals are rolling in.
2) MIDI
This was the heart behind the project. It was all thanks to the VS1053 chip on the Adafruit Music Maker Featherwing. This probably was the hardest thing for me to configure in the whole project, but I ended up realizing that it only needed four major connections to the Arduino: 1) Positive power supply [3.3 V], 2) Negative power supply [GND], 3) Reset, and 4) Serial Communication. I also shouldn’t have doubted myself when I soldered the leads on the first board that I got because I ended up wasting a good deal of time and money. It would’ve worked the first time if I only remembered to solder the two pins on the underside of the board… oh well.
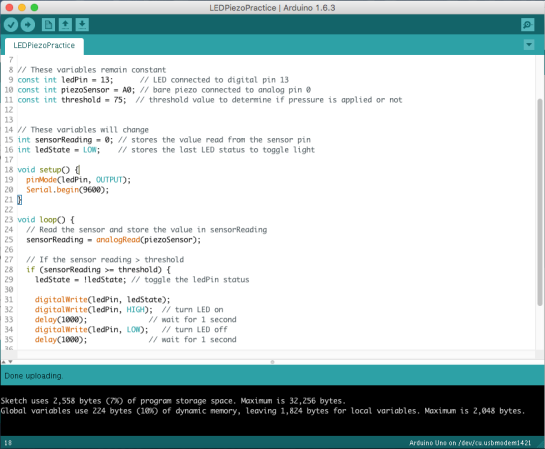
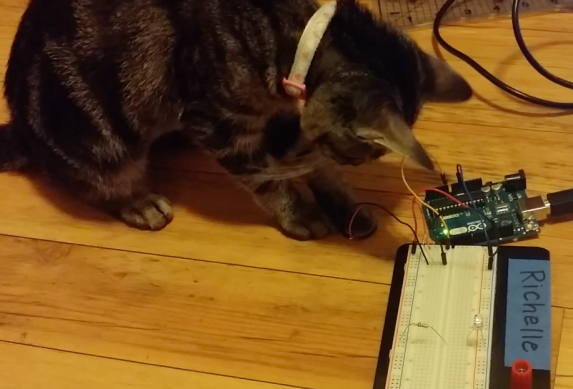
3) Piezo sensors
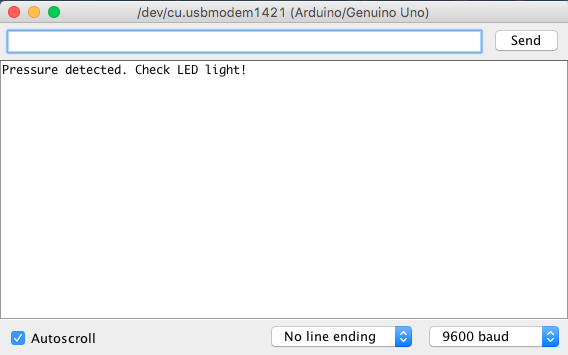
These acted as the “piano keys” of the board. I briefly went over these guys in my previous posts, but in general, they produce voltage when pressure is applied to them. My two major issues with these sensors were their sensitivity levels and being able to play polyphonic sounds. I solved the sensitivity issues by setting a general maximum threshold number of 75 and wiggling loose wires. The polyphonic sounds were a little harder to overcome, but I got help from my professor, Mr. Meyers. It’s a good thing he was a professional programmer for 20+ years! He was able to help me write Arduino code that recognized the duration of when each piezo was pressed and released, as well as getting rid of my dependence on “delays” so that the serial communication between the boards went a little smoother.
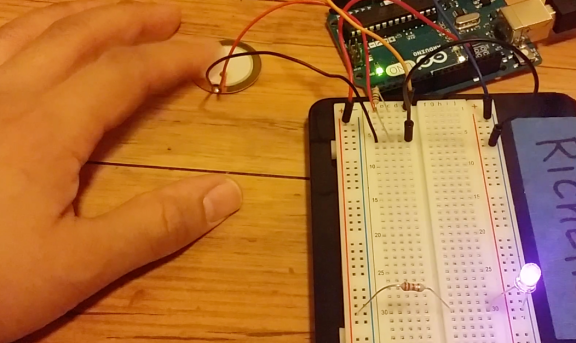
4) LEDs
Out of everything in the project, the LEDs probably had the biggest attraction, but it wasn’t overly complicated (which is a good thing). I picked random colors from red, pink, white, yellow, green, and blue to represent each one of the 13 piano keys.
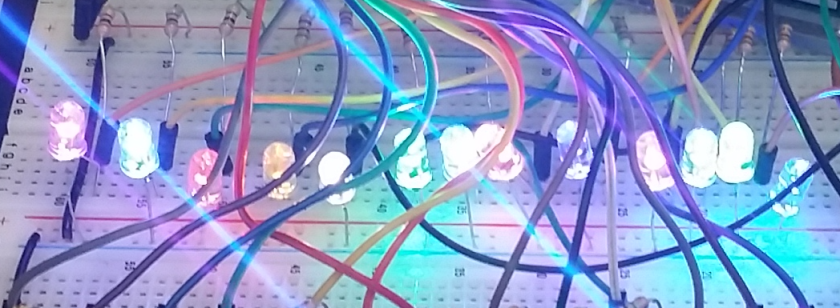
I also arbitrarily picked 470 Ω resistors to limit the current and voltage drops for each of the keys.
5) Buttons
For this part of the project, I used 16 total tactile pushbutton/switches: two for cycling through the 128 instrument tones from the VS1053 chip, five for demo songs (which I brute-forced in Arduino code all on my own), eight for playing different chords (C Major, D minor, E minor, etc.), and one for cycling through a major key (C Major, C#/Db Major, D Major, etc.).


Again, I faced another issue, and this time it was the “bouncing and debouncing” of the three major cycling buttons. I needed to count exactly one press for each time I pressed these buttons once. On average, I usually got six to seven “bounces” for just one press. To resolve this issue, I used various RC setups in these parts of the circuit and I also learned how to code with “attachInterrupt” on the Arduino’s digital pins (18, 19, and 20).
The hardest part, or rather longest and tedious part, out of the entire project was writing code for the five demo songs: 1) Simple Scale [C, D, E, F, G going up and down], 2) Twinkle, Twinkle Little Star [crowd favorite!], 3) Hawai’i Pono’i, 4) “Married Life” from Disney Pixar’s Up, and 5) “Healing Incantation Song” from Disney’s Tangled. And why five songs? If you ask, it was mainly because I just wanted to try and push my boundaries past three songs. Plus, Todd’s robotic arm ‘learned’ how to play “Mary Had a Little Lamb,” so I needed to top him somehow 😉
And because of time constraints, work, family matters, and my “still in early development” of programming, I wasn’t able to learn how to use the record function of the VS1053 chip. I’m not classically trained, but I’ve played piano mostly by ear since I was seven years old. So, it did benefit me a little when I busted out my real piano, played a tune, followed off of that and wrote it all in code (which was mainly a bunch of ridiculous midiNoteOn, midiNoteOff, and a lot of different delays), and checked every single note one at a time. One of these days though, I’ll try to learn that record function.
After presentation, I congratulated myself with this beautiful lei.
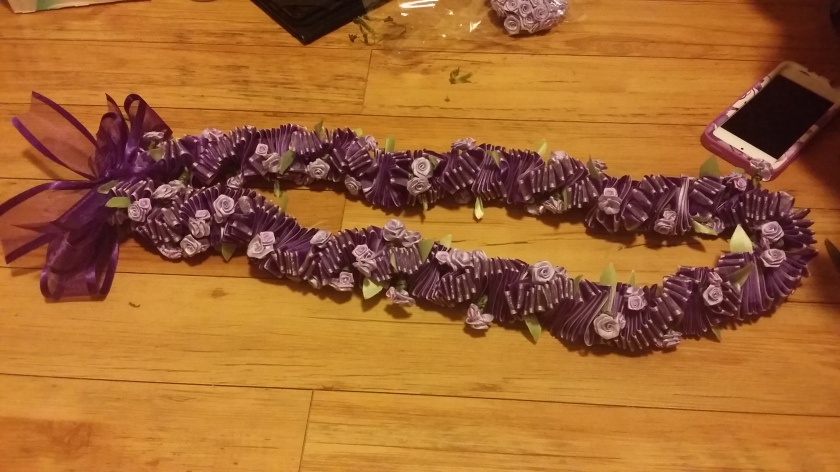
Kidding! I actually finished making this lei for my cousin’s wife, since she’s graduating from the dental hygiene program. Hopefully, I get a nice lei back..ahah. I did end up wearing it at work for a day just to show my “crafty skills” =) Compliments about these skills are always nice!
And it feels pretty awesome to know I was able to put this whole project together and finish it, along with a giant poster for this project, nine other leis and this crazy twisted ribbon lei all before graduation!
If anything, I’d like to dedicate this project to God first and foremost (because I’d be spewing a bad attitude and complaint every single day without You), my parents and sisters, my peers and professors, and last of all, my grandpas. When they both passed in February, I almost thought I couldn’t finish any of this, but everything managed to work out. Rest in peace, Papa Arsenio–I hope I keep polishing the music skills you passed to me–and Papa Pedro–I hope I keep shining with your same hard work and dedication in all that I do.